 网络管理
网络管理
默认Containerd管理的容器仅有lo网络,无法访问容器之外的网络,可以为其添加网络插件,使用容器可以连接外网。CNI(Container Network Interface)
# 7.1 创建CNI网络
| containernetworking/cni (opens new window) | CNI v1.0.1 (opens new window) |
|---|---|
| containernetworking/plugins (opens new window) | CNI Plugins v1.0.1 (opens new window) |
# 7.1.1 获取CNI工具源码

使用wget下载cni工具源码包
# wget https://github.com/containernetworking/cni/archive/refs/tags/v1.0.1.tar.gz
1
2
2
查看已下载cni工具源码包
# ls
v1.0.1.tar.gz

解压已下载cni工具源码包
# tar xf v1.0.1.tar.gz

查看解压后已下载cni工具源码包
# ls
cni-1.0.1

重命名已下载cni工具源码包目录
# mv cni-1.0.1 cni

查看重新命名后目录
# ls
cni

查看cni工具目录中包含的文件
# ls cni
cnitool             CONTRIBUTING.md  DCO            go.mod  GOVERNANCE.md  LICENSE   MAINTAINERS  plugins    RELEASING.md  scripts  test.sh
CODE-OF-CONDUCT.md  CONVENTIONS.md   Documentation  go.sum  libcni         logo.png  pkg          README.md  ROADMAP.md    SPEC.md
1
2
3
4
5
6
7
8
9
10
11
12
13
14
15
16
17
18
19
20
21
22
2
3
4
5
6
7
8
9
10
11
12
13
14
15
16
17
18
19
20
21
22
# 7.1.2 获取CNI Plugins(CNI插件)

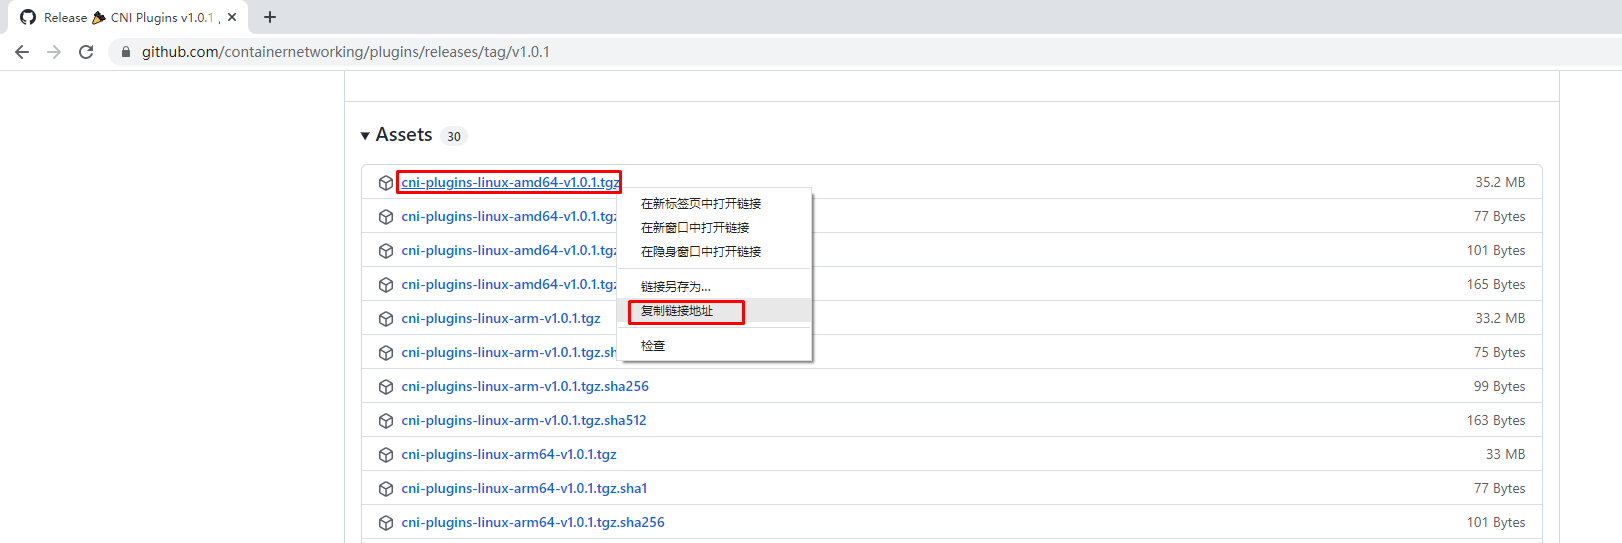
使用wget下载cni插件工具源码包
# wget https://github.com/containernetworking/plugins/releases/download/v1.0.1/cni-plugins-linux-amd64-v1.0.1.tgz
1
2
2
查看已下载cni插件工具源码包
# ls
cni-plugins-linux-amd64-v1.0.1.tgz
cni

创建cni插件工具解压目录
# mkdir /home/cni-plugins

解压cni插件工具至上述创建的目录中
# tar xf cni-plugins-linux-amd64-v1.0.1.tgz -C /home/cni-plugins

查看解压后目录
# ls cni-plugins
bandwidth  bridge  dhcp  firewall  host-device  host-local  ipvlan  loopback  macvlan  portmap  ptp  sbr  static  tuning  vlan  vrf
1
2
3
4
5
6
7
8
9
10
11
12
13
14
2
3
4
5
6
7
8
9
10
11
12
13
14
# 7.1.3 准备CNI网络配置文件
准备容器网络配置文件,用于为容器提供网关、IP地址等。
创建名为mynet的网络,其中包含名为cni0的网桥
# vim /etc/cni/net.d/10-mynet.conf
# cat /etc/cni/net.d/10-mynet.conf
{
  "cniVersion": "1.0.0",
  "name": "mynet",
  "type": "bridge",
  "bridge": "cni0",
  "isGateway": true,
  "ipMasq": true,
  "ipam": {
    "type": "host-local",
    "subnet": "10.66.0.0/16",
    "routes": [
      { "dst": "0.0.0.0/0" }
   ]
  }
}
1
2
3
4
5
6
7
8
9
10
11
12
13
14
15
16
17
18
2
3
4
5
6
7
8
9
10
11
12
13
14
15
16
17
18
# vim /etc/cni/net.d/99-loopback.conf
# cat /etc/cni/net.d/99-loopback.conf
{
  "cniVerion": "1.0.0",
  "name": "lo",
  "type": "loopback"
}
1
2
3
4
5
6
7
2
3
4
5
6
7
# 7.1.4 生成CNI网络
获取epel源
# wget -O /etc/yum.repos.d/epel.repo http://mirrors.aliyun.com/repo/epel-7.repo

安装jq
# yum -y install jq
1
2
3
4
5
2
3
4
5
进入cni工具目录
# cd cni
[root@localhost cni]# ls
cnitool             CONTRIBUTING.md  DCO            go.mod  GOVERNANCE.md  LICENSE   MAINTAINERS  plugins    RELEASING.md  scripts  test.sh
CODE-OF-CONDUCT.md  CONVENTIONS.md   Documentation  go.sum  libcni         logo.png  pkg          README.md  ROADMAP.md    SPEC.md


必须在scripts目录中执行,需要依赖exec-plugins.sh文件,再次进入scripts目录
[root@localhost cni]# cd scripts/

查看执行脚本文件
[root@localhost scripts]# ls
docker-run.sh  exec-plugins.sh  priv-net-run.sh  release.sh

执行脚本文件,基于/etc/cni/net.d/目录中的*.conf配置文件生成容器网络
[root@localhost scripts]# CNI_PATH=/home/cni-plugins ./priv-net-run.sh echo "Hello World"
Hello World
1
2
3
4
5
6
7
8
9
10
11
12
13
14
15
16
17
2
3
4
5
6
7
8
9
10
11
12
13
14
15
16
17
在宿主机上查看是否生成容器网络名为cni0的网桥
# ip a s
......
5: cni0: <NO-CARRIER,BROADCAST,MULTICAST,UP> mtu 1500 qdisc noqueue state DOWN group default qlen 1000
    link/ether 36:af:7a:4a:d6:12 brd ff:ff:ff:ff:ff:ff
    inet 10.66.0.1/16 brd 10.66.255.255 scope global cni0
       valid_lft forever preferred_lft forever
    inet6 fe80::34af:7aff:fe4a:d612/64 scope link
       valid_lft forever preferred_lft forever
1
2
3
4
5
6
7
8
9
2
3
4
5
6
7
8
9
在宿主机上查看其路由表情况
# ip route
default via 192.168.10.2 dev ens33 proto dhcp metric 100
10.66.0.0/16 dev cni0 proto kernel scope link src 10.66.0.1
192.168.10.0/24 dev ens33 proto kernel scope link src 192.168.10.164 metric 100
192.168.122.0/24 dev virbr0 proto kernel scope link src 192.168.122.1
1
2
3
4
5
6
2
3
4
5
6
# 7.2 为Containerd容器配置网络功能
# 7.2.1 创建一个容器
# ctr images ls
REF TYPE DIGEST SIZE PLATFORMS LABELS

# ctr images pull docker.io/library/busybox:latest

# ctr run -d docker.io/library/busybox:latest busybox

# ctr container ls
CONTAINER    IMAGE                               RUNTIME
busybox      docker.io/library/busybox:latest    io.containerd.runc.v2

# ctr tasks ls
TASK       PID     STATUS
busybox    8377    RUNNING
1
2
3
4
5
6
7
8
9
10
11
12
13
14
2
3
4
5
6
7
8
9
10
11
12
13
14
# 7.2.2 进入容器查看其网络情况
# ctr tasks exec --exec-id $RANDOM -t busybox sh

/ # ip a s
1: lo: <LOOPBACK,UP,LOWER_UP> mtu 65536 qdisc noqueue qlen 1000
    link/loopback 00:00:00:00:00:00 brd 00:00:00:00:00:00
    inet 127.0.0.1/8 scope host lo
       valid_lft forever preferred_lft forever
    inet6 ::1/128 scope host
       valid_lft forever preferred_lft forever
1
2
3
4
5
6
7
8
9
2
3
4
5
6
7
8
9
# 7.2.3 获取容器进程ID及其网络命名空间
在宿主机中完成指定容器进程ID获取
# pid=$(ctr tasks ls | grep busybox | awk '{print $2}')
# echo $pid
8377
1
2
3
4
5
2
3
4
5
在宿主机中完成指定容器网络命名空间路径获取
# netnspath=/proc/$pid/ns/net
# echo $netnspath
/proc/8377/ns/net
1
2
3
4
2
3
4
# 7.2.4 为指定容器添加网络配置
确认执行脚本文件时所在的目录
[root@localhost scripts]# pwd
/home/cni/scripts
1
2
3
2
3
执行脚本文件为容器添加网络配置
[root@localhost scripts]# CNI_PATH=/home/cni-plugins ./exec-plugins.sh add $pid $netnspath
1
2
2
进入容器确认是否添加网卡信息
# ctr tasks exec --exec-id $RANDOM -t busybox sh
/ # ip a s
1: lo: <LOOPBACK,UP,LOWER_UP> mtu 65536 qdisc noqueue qlen 1000
    link/loopback 00:00:00:00:00:00 brd 00:00:00:00:00:00
    inet 127.0.0.1/8 scope host lo
       valid_lft forever preferred_lft forever
    inet6 ::1/128 scope host
       valid_lft forever preferred_lft forever
2: eth0@if7: <BROADCAST,MULTICAST,UP,LOWER_UP,M-DOWN> mtu 1500 qdisc noqueue
    link/ether a2:35:b7:e0:60:0a brd ff:ff:ff:ff:ff:ff
    inet 10.66.0.3/16 brd 10.66.255.255 scope global eth0
       valid_lft forever preferred_lft forever
    inet6 fe80::a035:b7ff:fee0:600a/64 scope link
       valid_lft forever preferred_lft forever

在容器中ping容器宿主机IP地址
/ # ping -c 2 192.168.10.164
PING 192.168.10.164 (192.168.10.164): 56 data bytes
64 bytes from 192.168.10.164: seq=0 ttl=64 time=0.132 ms
64 bytes from 192.168.10.164: seq=1 ttl=64 time=0.044 ms

--- 192.168.10.164 ping statistics ---
2 packets transmitted, 2 packets received, 0% packet loss
round-trip min/avg/max = 0.044/0.088/0.132 ms

在容器中ping宿主机所在网络的网关IP地址
/ # ping -c 2 192.168.10.2
PING 192.168.10.2 (192.168.10.2): 56 data bytes
64 bytes from 192.168.10.2: seq=0 ttl=127 time=0.338 ms
64 bytes from 192.168.10.2: seq=1 ttl=127 time=0.280 ms

--- 192.168.10.2 ping statistics ---
2 packets transmitted, 2 packets received, 0% packet loss
round-trip min/avg/max = 0.280/0.309/0.338 ms

在容器中ping宿主机所在网络中的其它主机IP地址
/ # ping -c 2 192.168.10.165
PING 192.168.10.165 (192.168.10.165): 56 data bytes
64 bytes from 192.168.10.165: seq=0 ttl=63 time=0.422 ms
64 bytes from 192.168.10.165: seq=1 ttl=63 time=0.908 ms

--- 192.168.10.165 ping statistics ---
2 packets transmitted, 2 packets received, 0% packet loss
round-trip min/avg/max = 0.422/0.665/0.908 ms
1
2
3
4
5
6
7
8
9
10
11
12
13
14
15
16
17
18
19
20
21
22
23
24
25
26
27
28
29
30
31
32
33
34
35
36
37
38
39
40
41
42
43
44
45
46
2
3
4
5
6
7
8
9
10
11
12
13
14
15
16
17
18
19
20
21
22
23
24
25
26
27
28
29
30
31
32
33
34
35
36
37
38
39
40
41
42
43
44
45
46
在容器中开启httpd服务
/ # echo "containerd net web test" > /tmp/index.html
/ # httpd -h /tmp

/ # wget -O - -q 127.0.0.1
containerd net web test
/ # exit
1
2
3
4
5
6
7
8
2
3
4
5
6
7
8
在宿主机访问容器提供的httpd服务
[root@localhost scripts]# curl http://10.66.0.3
containerd net web test
1
2
3
2
3
编辑 (opens new window)